Process of graphical design
Creating a 2D pixel character with LibreSprite can be a fun and rewarding experience. LibreSprite is a free, open-source software that provides a comprehensive set of tools to help you bring your characters to life. In this article, we will walk through the process of creating a 2D character using LibreSprite.
To begin, we will start with an example character that we have purchased. This character will be enlarged to 64 pixels and traced on a higher layer to create a rough outline.
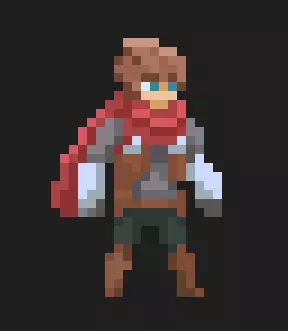
From there, we will use reference images of Mozart, a member of the band Kiss, and Kollegah to identify features to incorporate into our characters. By incorporating these features, we can create unique characters that are visually interesting and recognizable.
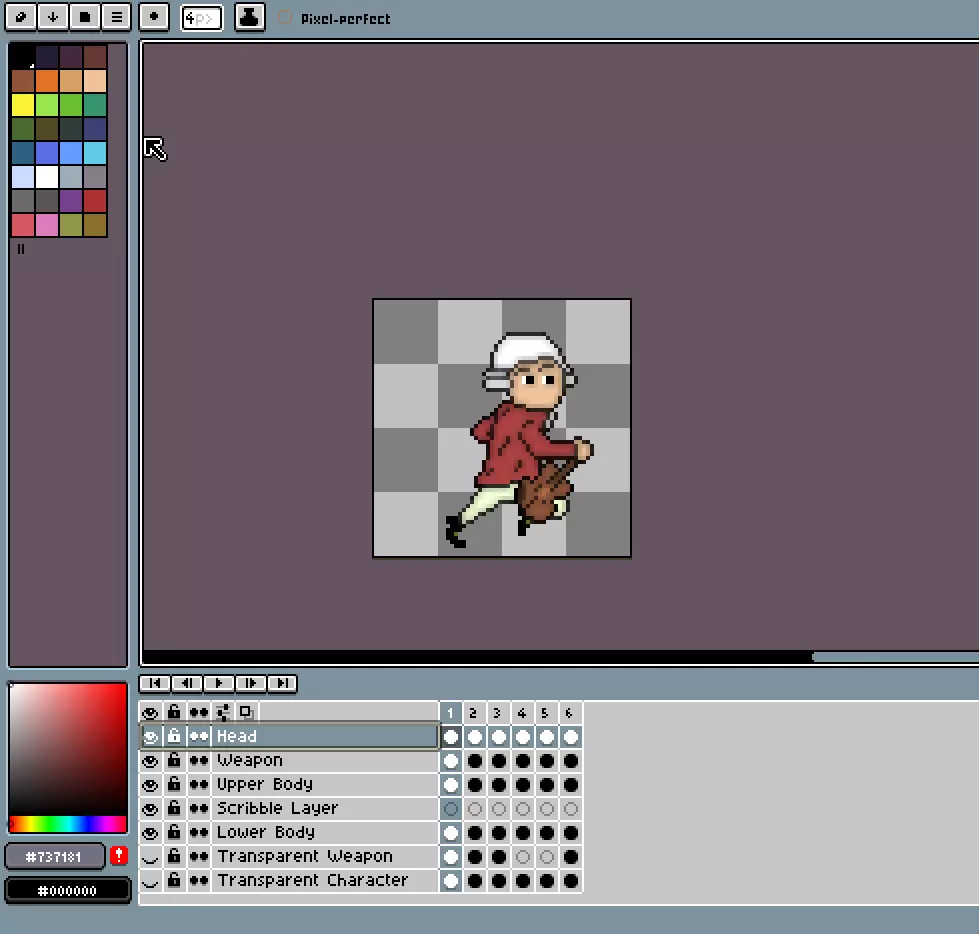
To build the characters, we will use different layers in LibreSprite. The head, weapon, torso, torso scribble layer, legs, transparent weapon layer, and transparent character layer will all be built on separate layers to ensure that each component can be edited and moved independently. The torso scribble layer is a useful tool for creating a rough sketch of the character’s torso before committing to a final design.
To ensure consistency in our designs, we will create a base head and incorporate it into each character. This will give the characters a cohesive look and feel, and add charm to the graphic style. Additionally, each character will have a unique weapon that fits their personality. For example, Mozart will have a violin, Kiss will have an electric guitar, and Kollegah will have a microphone.


Throughout the creation process, it is important to keep in mind the overall aesthetic of the characters. Using a consistent font and design elements will help to create a cohesive and visually pleasing final product.
In addition to creating the 2D pixel characters, LibreSprite also allows you to create animations for your characters. To create animations, we study all the movements of the base character and remodel our own character to create the same fluid motion.

The head of the character remains the same size and height throughout the animation, which serves as a recognizable feature of the game. This creates a fun and recognizable detail for players to enjoy.
To begin creating animations, we will first create a new animation file and import our character layers. We will then create a new frame for each movement in the animation. For example, if we want our character to walk, we will create frames for each step of the walk cycle. We can then use the onion skinning feature in LibreSprite to see the previous and next frames as we create each new frame.
To ensure that our character moves smoothly, we need to pay close attention to the details of the animation. We must make sure that each frame is positioned correctly and that the movement of the character is natural and fluid. This may require adjusting the placement of the character’s limbs or making other small tweaks to the animation.

Creating a 2D pixel character with LibreSprite can be a fun and rewarding experience. By starting with a base character and incorporating unique features and weapons, we can create visually interesting and recognizable characters. By using different layers and keeping the overall aesthetic in mind, we can create a cohesive and polished final product. With practice and experimentation, the possibilities are endless. :)